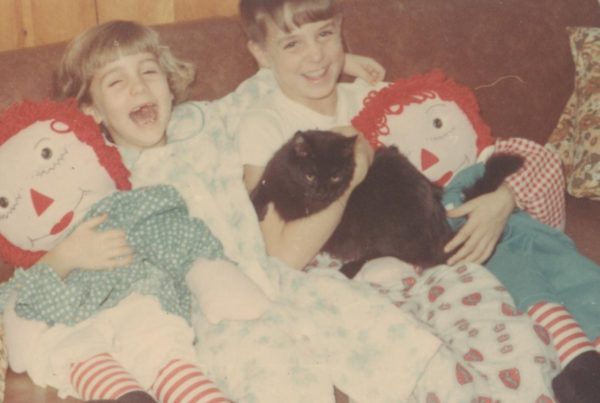
”Photos capture a glimpse into an event. We give ourselves a special gift by writing down a memory to go with it.
- Michele Kerr
Journaling – Need a reason?
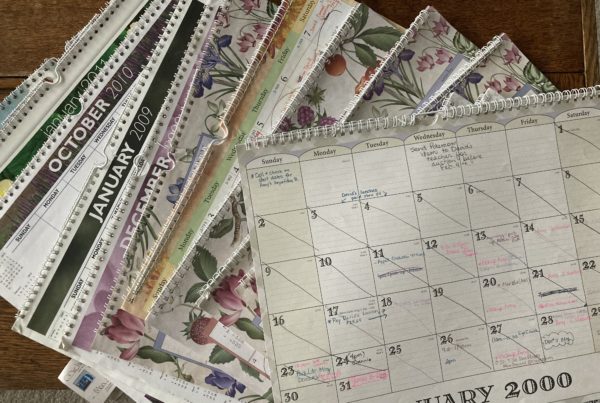
It seems like this article should be on repeat for a website with the name It’s a Life Story, right? I’m going to gently suggest that if you haven’t journaled since you were a little girl or it has been on and off for you over the years, then it might be the time to jump back in. I have tried many types of journals — in fact, I’m currently on my 4th Bullet Journal, which is all done by hand. I write in it at night right before I go to sleep while the day’s adventures are still fresh in my mind. The good thing is that I love writing it down and processing everything as I contemplate my day, but I have also used the Day One app for many years before moving back to a handwritten journal.
The best part of using the Day One App is that you attach stories to your photos so you have background stories that go along with all the hundreds of photos we take weekly. Whoever said that a photo is worth a thousand words, really should think about that a bit. Yes, they say a lot and one can ponder all the meanings of why the photo was taken or who is in it, but I would like to have my cake and eat it too. Why not have the photo and the story behind it? And adding the story while it is fresh in our minds, helps to cement all the little details that will get forgotten. And, yes, they will get forgotten. It just happens so let’s slow the forgetting process down a bit and get the details added up front.
Day One App — explained in detail
(Note: This originally was posted in 2015 and received the most comments of all my posts. I am reposting again and adding an Updated Section to the bottom with answers to some really good questions.)
Step One: Uploading the App to your phone
After loading the Day One app onto your phone, you will first get a black-and-white screen. Always intimidating but absolutely no problem!
To get started, just click on the little camera icon to be whisked away to your camera photos or photo stream! The fun part is deciding which photo you are going to choose to represent your post. This app doesn’t have any editing features so I would suggest doing any fix-ups or cropping before you load it up.
Once you have selected your photo, it will come up with a little message box that asks, “Would you like to change the entry date / time to the Photo’s time?” I like to revert back to the photo’s date and time so that it keeps a record of the exact day and time that I took the photo(its metadata.) If you are using a scanned photo, it won’t have the correct date so you can then enter it in or at least type in your best guess. Don’t worry too much because you can easily change it later! With this date feature, I can easily miss a couple of days and then enter them at a more convenient time (sooner than later!) and it will appear with the correct day and time.
Step Two: Journaling!
Don’t let this intimidate you. Think of this as your own little place to write where you don’t have to worry about who might be looking and judging you. This is a safe place to write down some of the little details that occurred when this picture was taken. Sometimes, I only add one picture for an entire day and that’s ok as well. I am capturing my life and this doesn’t have to be perfect.
Some people like to have journaling prompts and others like to just write freely. I would just suggest that you include people’s names and the places where the picture or story are taking place. Maybe it would make the process easier if you think about your writing as if you were telling a friend of yours the story (Maybe a friend that doesn’t know anything or anyone in your life or circle of friends.) If you do this, I think that you will find that you put a little more detail in your writing naturally!
Once you have finished your journaling for this picture, you will hit DONE at the top right of the screen. Voila! You have written your first post. Believe me, they get easier with each one. In fact, I find that I am really looking forward to taking a few quiet moments to do this every day or every other day. What I am not doing is putting any more pressure on myself to have to do it every day.
I want this to be a present to myself and a gift to my children down the road.
So, what if you want to add two or three pictures or even more? That’s alright as well. It’s your journal and you can do whatever you want, right? There are days that I have been pretty busy, especially on a recent vacation, and I wanted to capture several small stories of the day and the people with me. It is very easy to just add another picture and I’m off telling another snippet of a story.
Step Three: First Post
Once you have made your first post, you will see the photo and the journaling directly below the picture. If it is longer than will fit in that little tiny space, then you can simply scroll down and the rest of your story will unfold. Excited? I was thrilled on my first post and actually, I get a little happy after each one!
Let’s take a look at the bottom of the screen at the black menu bar. The first flag icon on the left is a link that takes you to the Day One website where you can post your entry online. For me, I am keeping my journal on my phone and backing up to my Dropbox.
[Note: You can set up the Dropbox feature back at the main screen by hitting <-Timeline <-Menu and then Settings and Sync. You will need to have Dropbox set up before you do this so you can enter your Dropbox information. If you are not familiar with Dropbox, it is a cloud storage that gives you access to your files from any of your devices: computer, mobile phone, or tablet. And the best part is that the basic storage plan is free!]
Back to the black menu bar. You will see an up arrow and a down arrow that will allow you to easily scroll through your entries. On a touch screen device, you can also swipe your finger up and down on the screen and it will move through the entries.
The (+)Plus sign brings up a choice to enter another picture or simply enter text. (Some times there just are not any pictures taken during an event, but it is still wonderful to journal about it!)
Step four: Print it out
We have made entries but what if we want to print them out? This is where it gets fun again. Let’s look at the little black menu bar at the bottom again. You will see a row of three dots (***) and upon tapping that feature, you now have options! Lots of them.
The best part of this whole app is that it can make my entries into a single PDF that I can save or print out and keep. Now I have something that I can hand down to my children. I can pick and choose which pages to keep as well. [Remember that with a PDF, you can delete pages and also choose which pages to print.]
There are other options that you might like to explore as well, including uploading directly to your Twitter account. I like the idea of this being a separate part of me and keeping it under wraps until I am ready to share it with my four children. I might even think about having it printed and bound into books for each year. Who knows, but the good news is that I am doing it. It is easy and combines both of my passions for photos and family stories.
Step Five: Timeline
Remember that black and white screen that you got when you first opened up the app?
You can always go back there by selecting <–Timeline <-Menu. You can access the timeline directly from here as well as a calendar and photos and even any tags that you might want to add.
[Note: Tags are a great thing to think about adding up front or as you enter a picture. If you ever would like to see all your “Beach” photos or entries, you could simply go to this area and select the “Beach” tag and all your beach entries would show up in date order. Yes, this is a very good thing as Martha Stewart would say! You don’t even have to go hunting for a picture in your archive of when you went to a particular beach, you can simply select the tag. So, of course, you have to tag your photos when you are making your entries or go back and tag them later for this feature to work. That is why it is a good thing to think about it before you begin your journaling experience. You might even write up a basic list of tag names that you might think you would like to search on at a later point depending on your own needs! Names, places, activities, etc. Just look for the tag icon when you are entering your journal entry. It will prompt you at the top of the screen to enter a tag.]
Whether you are a parent, scrapbooker, and/or family historian, the Day One app is well worth the cost (FREE for the Basic app and $2.92/month – billed annually – for the Premium version.) If you have never tried DayOne before, I would suggest you work with it for a couple months and then decide that you want to continue and check to see if you need the added benefits before subscribing.
As a scrapbooker for over twenty-some years, I have a passion not only for the pictures but the stories behind the photos. And, try as I may, there are times when I don’t get all the pictures into albums… Ok, maybe even years… but if I find a group of pictures within my photo archive (which is massive,) I could then go back to my journal and find that day. Guess what? All the details are now written down! (Or I can use my tags as well as long as I keep using them.)
And if you don’t scrapbook, how does this apply? Ok, well, your children or grandchildren or great-grandchildren would be ecstatic to be able to poke around your journal and get an idea of all the things that you did on a daily basis. As a family history researcher, I would LOVE to be able to read my ancestors’ thoughts as they went about their daily lives. I can find the documents and possibly photos, but it takes a lot to be able to put yourself into their shoes and imagine what all they endured.
It’s those stories that give me strength and a foundation to live my own life. A bit melodramatic, yes, but I think that I am pretty spot-on when it comes to that desire to understand my ancestors better. I want my children to have a sense of what I was thinking as I went through part of my life. I’m fifty-three, ok, fifty-four, and I WISH that I had kept better journals during the time that I was raising my children. Now, as we are down to the last one at home, I can only hope that they will enjoy this small look into my life!
I’ve talked about it before… my mother passed away in 2000… and I still find myself looking for little tidbits of her writing or old letters that remind me about a particular time. If I don’t get anything else done in my own life, I am determined to leave a part of myself to my own children!
Please share this with your circle of friends as a gentle nudge to get started with our own Life Stories! It’s never too late — until it is too late!
Questions Answered
As a follow up to this article, I have had a couple of questions sent my way and I’d like to share them with you.
—- How can you go back and put in a page you have missed?
If you go to your Timeline, there is a (+)plus sign at the top right-hand side of the screen. Click on that Plus sign and it takes you to that new blank page ready to be written. In order to back date the posting to fit into order, you can simply click on the small little Clock icon to the right of the Camera icon. It takes you to a Calendar where you can choose to Set to Current Date and Time or change to the date and time that you want the entry to be placed.
If you have a photo that you have already added to the page, you can also choose to set the date to the original date and time stamp that is attached to the photo when you take it. (I like to do this when I am posting a day or so later.)
To change the date manually, make sure that the title, “Date” is highlighted (mine is blue.) In order to change the time stamp, simply choose the title “Time” and move the rotating clock to the time that you would it to be set.
Once you have changed the Date and time stamps for that post, you can click on “Done.”
—- How can you delete an additional page for a day?
In order to delete a post, you can go to your Timeline and touch the particular posting that you would like to delete. Now drag the posting to the left and you will see a trash can appear. If you do a flicking of that post quickly to the left, it will leave the screen entirely and leave you with options, one of which is the trash can to delete it! And voila, it will go away.
Don’t feel bad that this one didn’t seem obvious — it caught me by surprise the first time that I made an entry and couldn’t delete it! Thank goodness for having kids that have no fear and just naturally swooshed it to the left for me!
I plan to print out all my entries at the end of each year and make them into a book. I also have attached my Day One Journal to my DropBox (cloud storage) so that it is kept in another place for safety! I’d love to hear your plans on how you are using your Day One Journal!
—- How do I change the name I chose for Day One?
At first glance, it isn’t really apparent where your information is stored, but once you get to that screen, then you have access to all your User Information. If you go to the Settings screen, it will have “Day One” on one of the top lines with your email address grayed out right next to it.
Go ahead and Click on the “Day One” line (It also has a “>” sign off to the right so you know there is another menu you can access. The new screen that pops up is the User Information screen and it looks like you can change most everything. Just remember to Click on the Save button on the top right-hand side of the screen!
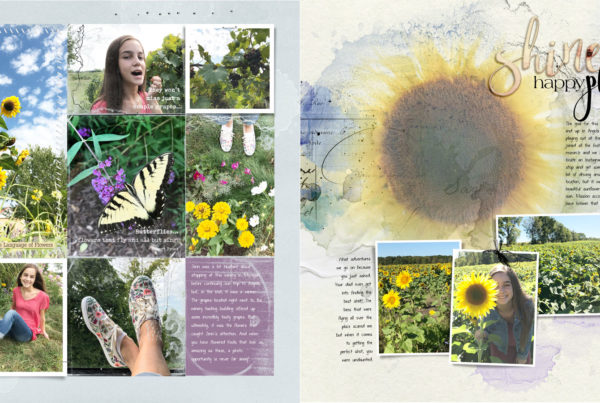
I love to use this as my memory bank for my digital scrapbooking. I have a visual as well as the written information.
—- Can you tell me how I choose the pages to print out as a group? Eg a whole year of entries?
This another one that doesn’t seem to jump right out at you, but it is fairly easy!
If you go to the Settings page, look down to the middle section for “Export to PDF” and Click on that line. The “>” after the title shows you that there is more on the next screen.
Once you get to the “Export” screen, then the first option is “Date Range;” go ahead and Click on it. You can pick a range of entries to export to a PDF.
This might be where you are getting stuck? You then have to click on the “Export” button on the top left of the screen to take you back to the prior Export Menu where you will see “Create New PDF.” You will see how many entries are going to be included.
If you are good with the date range that you have set, then go ahead and Click on Create New PDF button and it will create that PDF. Now you will see a new entry show up that is your PDF of the files that you have just saved.
WARNING: Your phone won’t explode 🙂 but your phone might have a hard time sending the PDF due to the size that it will be. I have signed up for a Dropbox cloud account and it can then save my PDF to my Dropbox just by me telling it to go there. You do have to tell Day One that you have a Dropbox account. They are Free for a certain amount of storage space. (Great place to use as a backup for your family history research or family photos!)
—- How did you end up printing your journal?
I print my journal here at home, but if you want to use a publishing service, I have had great success using Blurb and they carry magazine format which is 8.5×11 so I’m wondering if that might be something to consider. I printed out my daughter’s freshman year scrapbook in a magazine format and it really does make a nice book and it is thinner due to the paper used.
